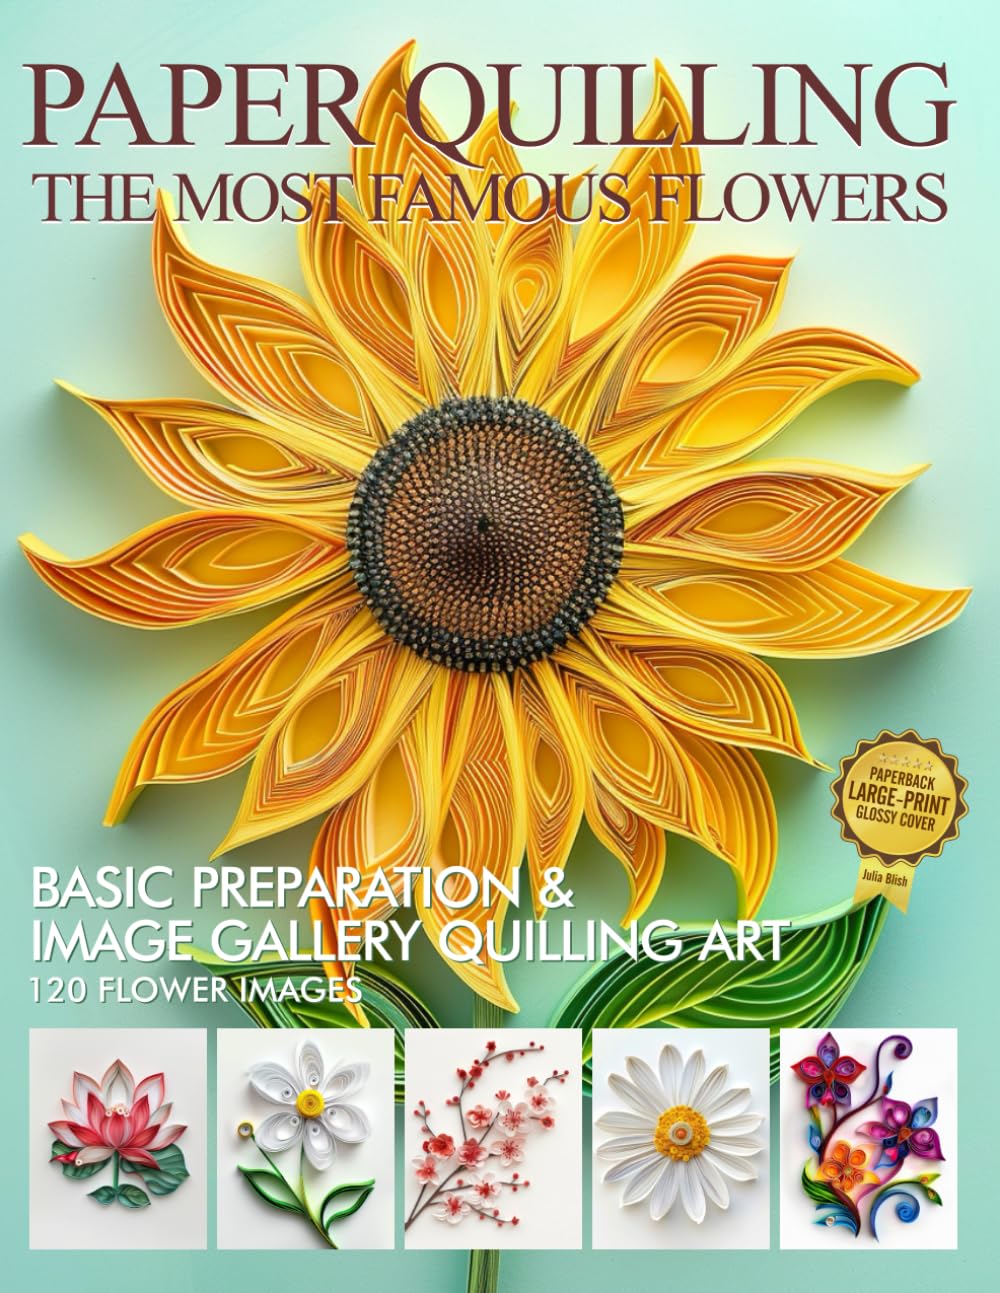
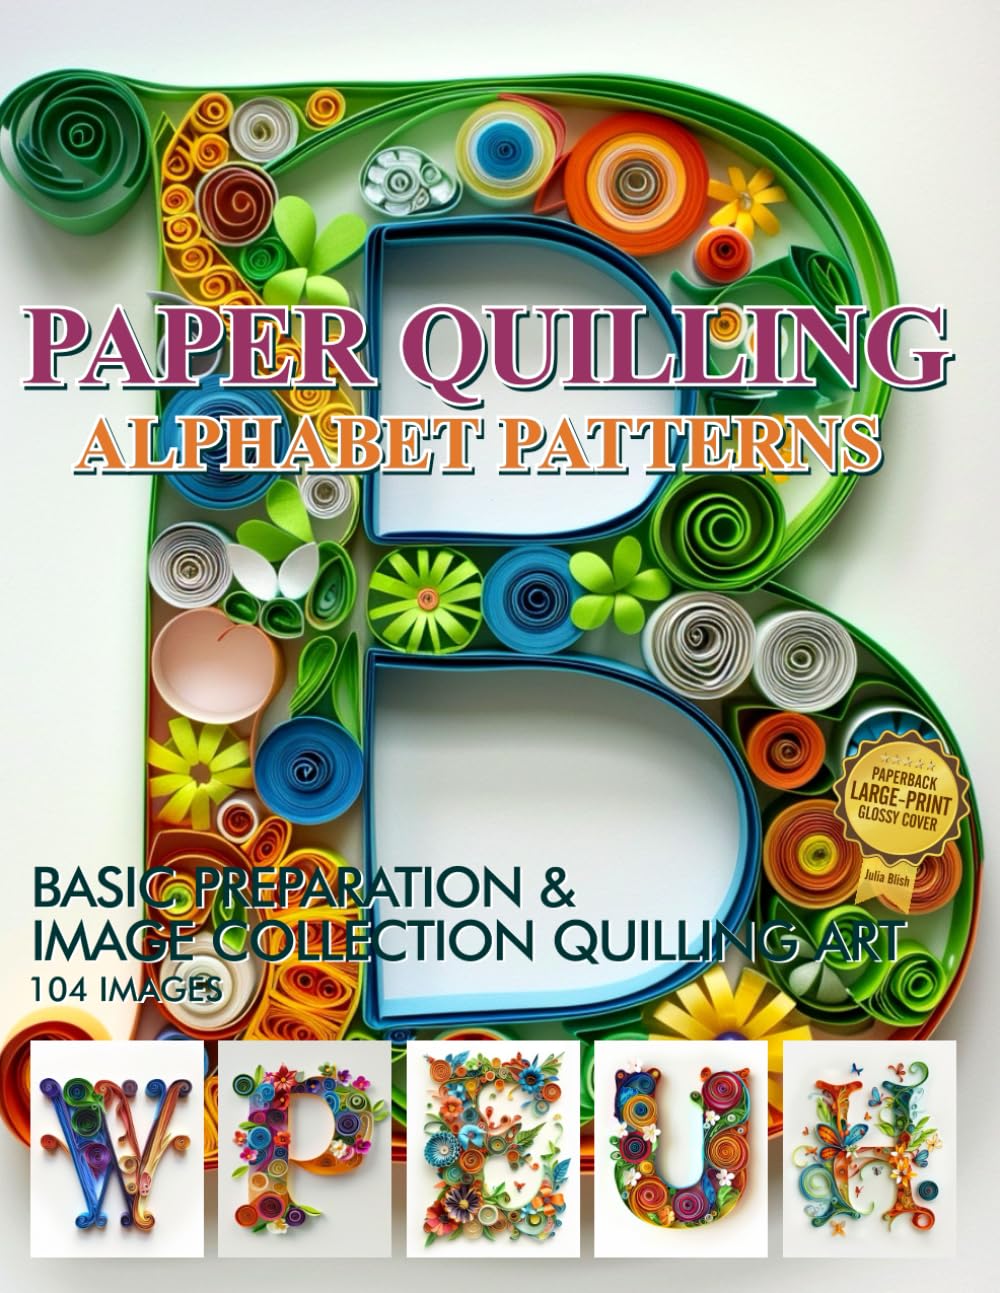
There's something magical about turning a flat, humble sheet of paper into a three-dimensional work of art. Whether you're a longtime quiller like me or someone just discovering the joys of papercraft, this hobby rewards patience, curiosity, and a willingness to experiment. Today I'm sharing my favorite tips and project ideas to help you get more out of every paper crafting session in 2026.
Start With the Right Paper
Not all paper is created equal, and choosing the right weight and finish can make or break a project. For quilling, look for strips specifically designed for the craft, usually between 100-160 gsm, which hold curls without becoming floppy or cracking. For card making and layered art, cardstock in the 65-110 lb range gives you sturdiness without stiffness that fights your scissors.
- Use lightweight paper (20-24 lb) for delicate folds like origami cranes or paper flowers with many petals.
- Choose double-sided cardstock when your project shows both sides, such as pinwheels or hanging ornaments.
- Test scraps before committing to a full sheet, especially with textured or metallic papers that behave differently under glue.
Essential Tools Worth the Investment
You don't need a huge collection to get started, but a few quality tools will save you frustration. A sharp pair of small scissors, a slotted quilling tool, a bone folder for crisp creases, and a reliable glue with a fine-tip applicator are the backbone of most papercraft projects. If you're coloring your own designs before cutting, invest in blendable markers or colored pencils that won't bleed through thinner paper.
- A self-healing cutting mat protects your table and keeps blades sharp longer.
- Tweezers help with tiny, fiddly pieces like miniature quilled coils or small floral centers.
- A ruler with a metal edge doubles as a straightedge for tearing clean lines when you want a deckled effect.
Ideas to Get You Creating Today
Sometimes the hardest part is simply deciding what to make. Here are a few project ideas that work well for beginners and seasoned crafters alike.
- Quilled Wall Art: Create a simple botanical piece using rolled coils and teardrop shapes glued onto a canvas or framed cardstock background.
- Layered Paper Cards: Cut simple shapes from coordinating colored cardstock and stack them with foam adhesive for a dimensional pop-up effect on handmade greeting cards.
- Paper Bouquets: Combine coloring and cutting by hand-tinting flower templates, then curling petals with a bone folder before assembling a lasting bouquet.
- Mixed-Media Journals: Use scrap paper, quilled accents, and colored pages together to create one-of-a-kind journal covers that double as keepsakes.
Troubleshooting Common Frustrations
Every paper crafter hits a snag eventually. If your quilled coils keep unrolling, try using a slightly stronger glue and pressing the tail down with a toothpick before releasing tension. If cardstock keeps tearing at the fold, score it first with a bone folder along a ruler edge to weaken the fibers cleanly. And if colors look muddy on darker paper, switch to opaque gel pens or white ink for highlights that actually show up.
Make It a Practice, Not Just a Project
The best papercraft tip I can offer is this: give yourself permission to make imperfect things. Some of my favorite quilled pieces started as "mistakes" that I turned into something new. Keep a scrap bin, revisit old templates with fresh color palettes, and don't be afraid to combine techniques from different books or tutorials. Papercraft is endlessly forgiving, and every strip, snip, and fold builds your skill for the next project.
Whatever you decide to make next, remember that the joy is in the process as much as the finished piece. Grab your scissors, pick a color palette that makes you smile, and let the paper lead the way.