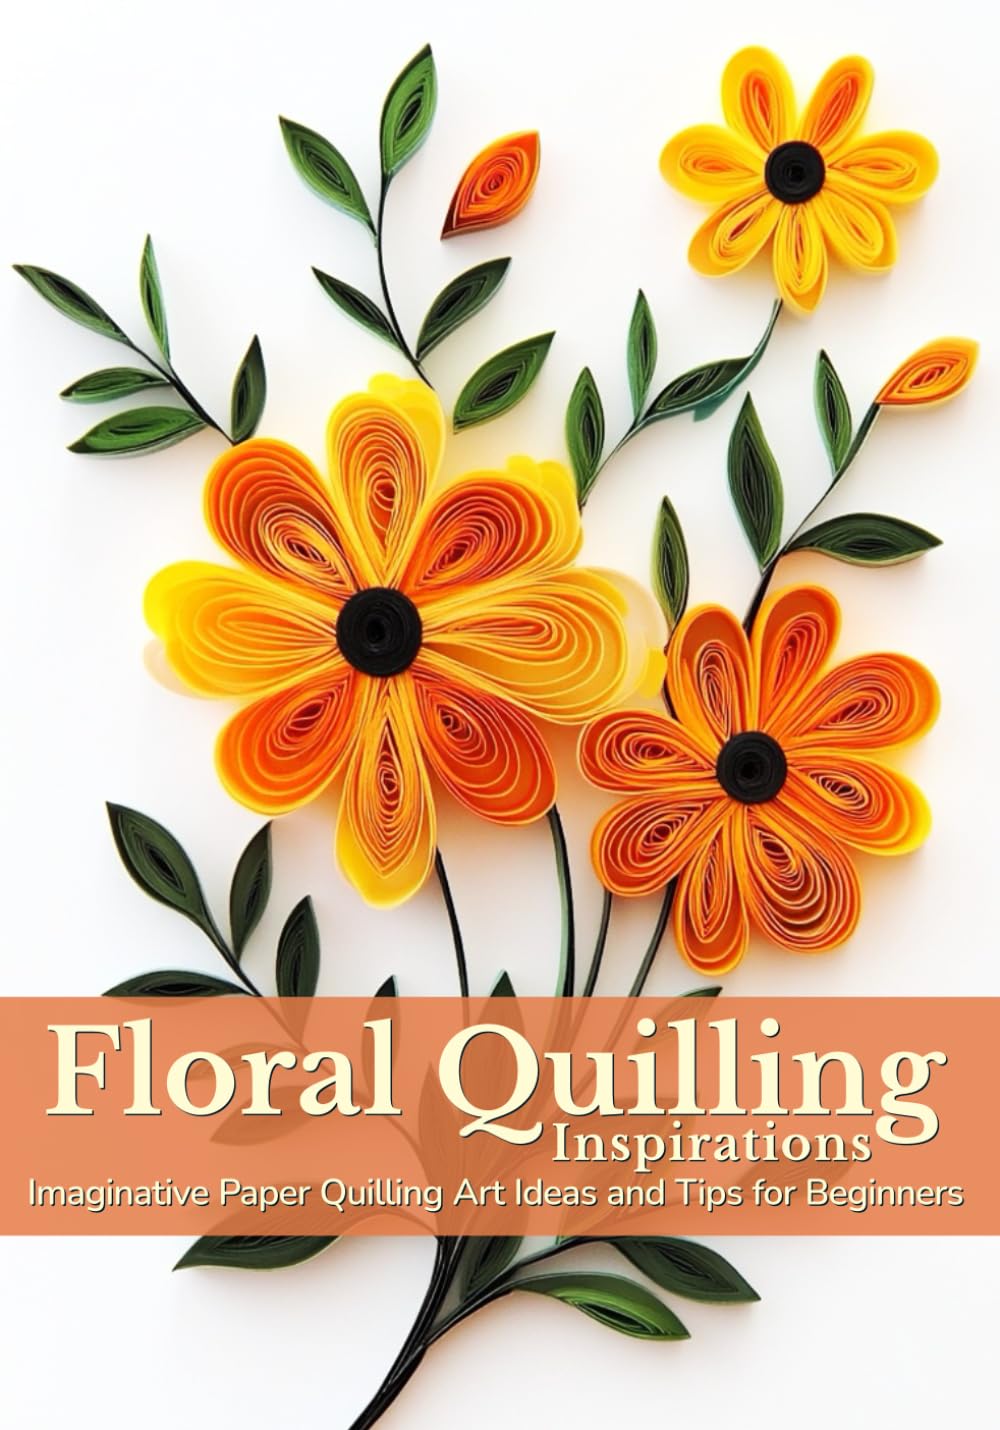
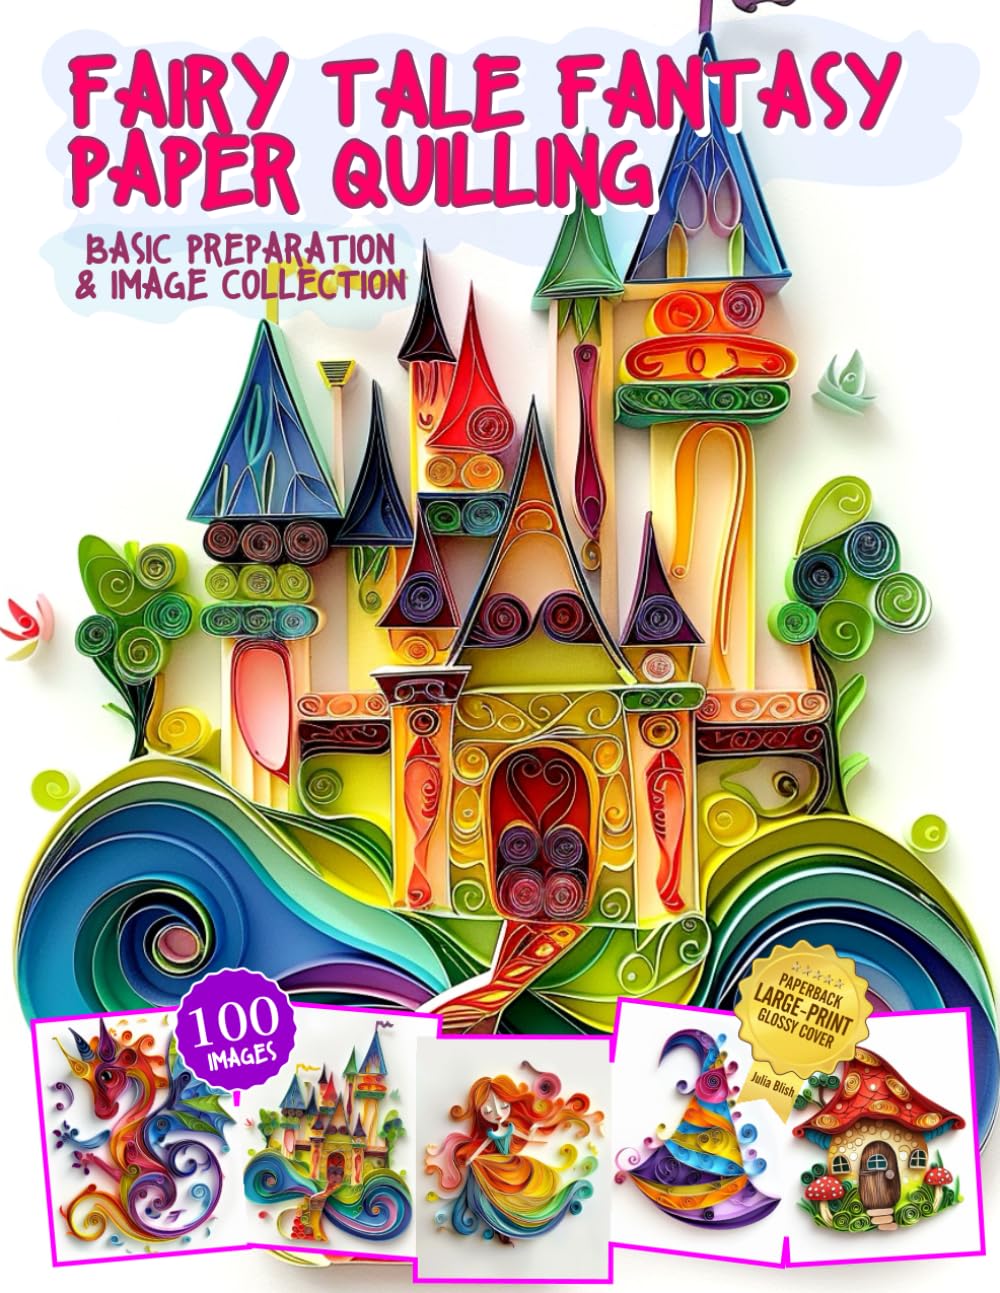
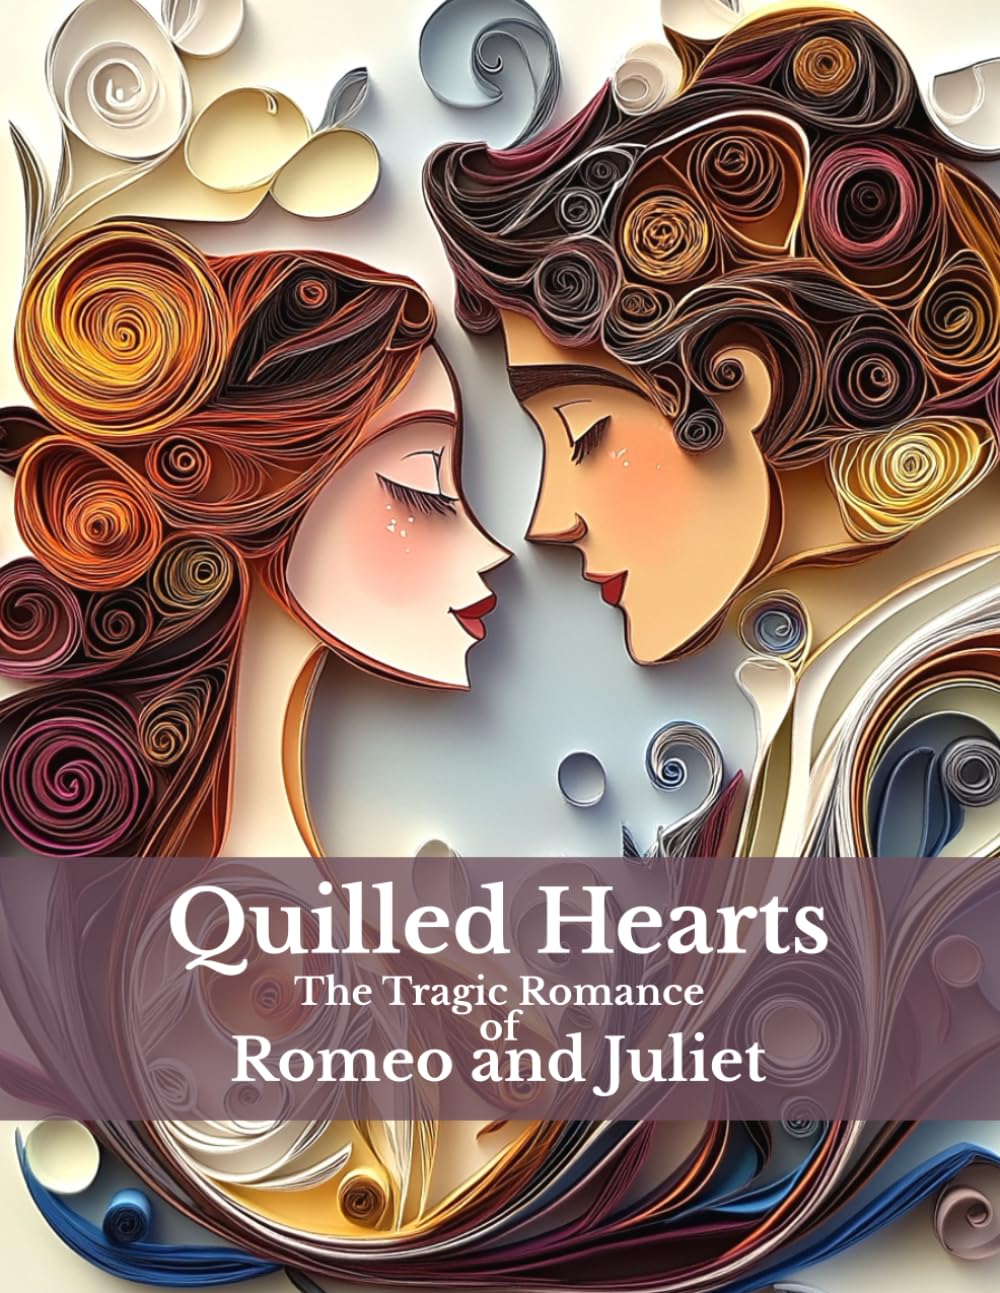
If you've ever admired those delicate coiled paper designs on greeting cards, wall art, or jewelry and wondered how they're made, you've stumbled onto one of the most satisfying hobbies around: paper quilling. Also called paper filigree, quilling involves rolling thin strips of paper into coils and shaping them into elegant designs. It's inexpensive to start, endlessly customizable, and perfect for quiet evenings, gift-making, or even a small creative business. Whether you're picking up your first slotted tool in 2026 or you've been quilling for years, here are tips and ideas to keep your craft table inspired.
Getting Started: Tools That Actually Matter
You don't need a huge investment to begin quilling, but a few key tools make a real difference in the quality of your coils.
- Slotted quilling tool – helps create tight, even coils, especially useful for beginners.
- Needle tool – gives you more control and avoids the small crease a slotted tool can leave in the center of your coil.
- Quilling paper strips – precut strips in various widths (1/8" and 1/4" are the most common) save time and ensure consistency.
- Corkboard and pins – essential for pinning shapes in place while glue dries, especially for larger designs.
- Fine-tip glue applicator – precision matters, since too much glue can warp your paper or create visible clumps.
Once you have these basics, you're ready to explore the wonderful world of coils, scrolls, and shapes.
Tips for Cleaner, More Professional-Looking Quilling
Small adjustments in technique can make your finished pieces look far more polished.
- Roll at a steady pace. Rushing often creates uneven, loose coils. Slow down and let the paper glide naturally.
- Let coils relax before gluing. Remove the coil from your tool and let it loosen slightly before securing the end—this keeps your shapes from looking too tight and stiff.
- Use husking technique for delicate designs. Wrapping paper strips around pins on a board creates soft, feather-like shapes perfect for flowers and leaves.
- Store paper strips flat. Curled or creased strips are harder to work with and can throw off the symmetry of your coils.
- Match paper weight to project size. Lighter paper works beautifully for small, intricate designs, while heavier cardstock strips hold up better in large statement pieces.
Project Ideas to Spark Your Creativity
One of the best parts of quilling is how versatile it is—from tiny embellishments to full wall art. Here are some ideas to try:
- Quilled greeting cards. A single quilled flower or monogram can transform a plain card into a handmade treasure.
- Earrings and pendants. Small, sealed quilled shapes make surprisingly sturdy and lightweight jewelry.
- Framed nature scenes. Combine coils, scrolls, and teardrop shapes to create quilled birds, trees, or floral bouquets for framed wall art.
- Ornaments and gift tags. Perfect for using up scrap strips and adding a handmade touch to presents.
- 3D sculptures. Once you're comfortable with basic shapes, try building small vases, baskets, or animal figures using coiled and shaped paper.
Keep the Hobby Fun and Sustainable
Quilling rewards patience, but it shouldn't feel like a chore. Keep a small tray of paper scraps for quick five-minute projects on busy days, and save your more intricate designs for when you have uninterrupted time. Joining an online quilling community or following fellow crafters can also help keep your motivation and inspiration flowing.
Paper quilling is proof that a strip of paper and a little patience can turn into something truly beautiful. Whether you're making your first coil or your five-hundredth, there's always a new shape, color combination, or design waiting to be discovered. So gather your tools, roll up a coil, and let your creativity unwind—one curl at a time.