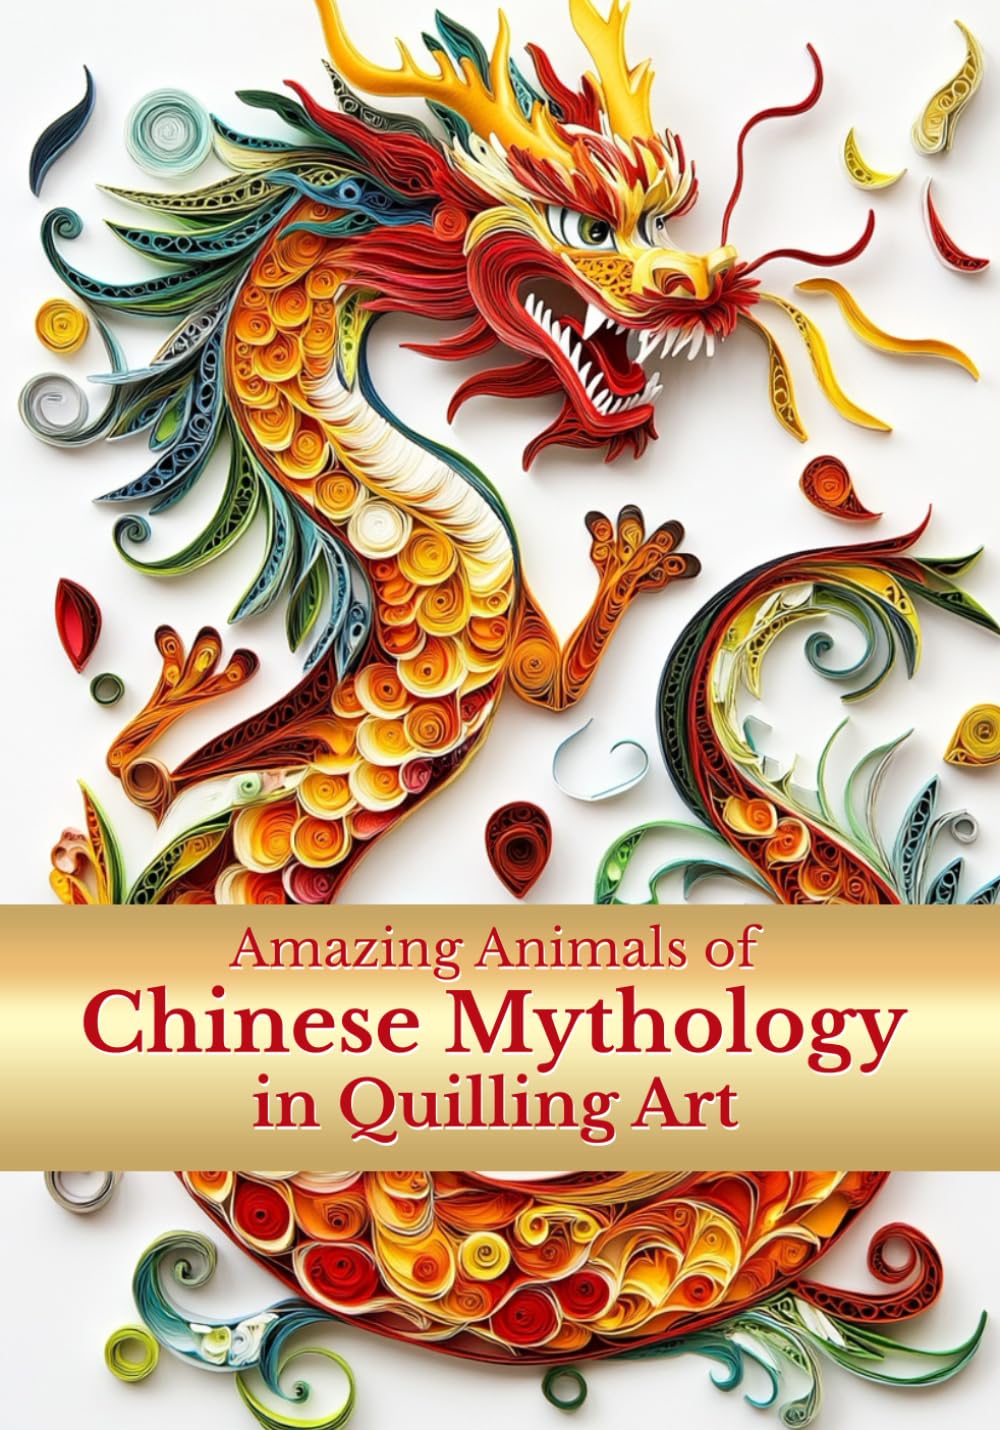
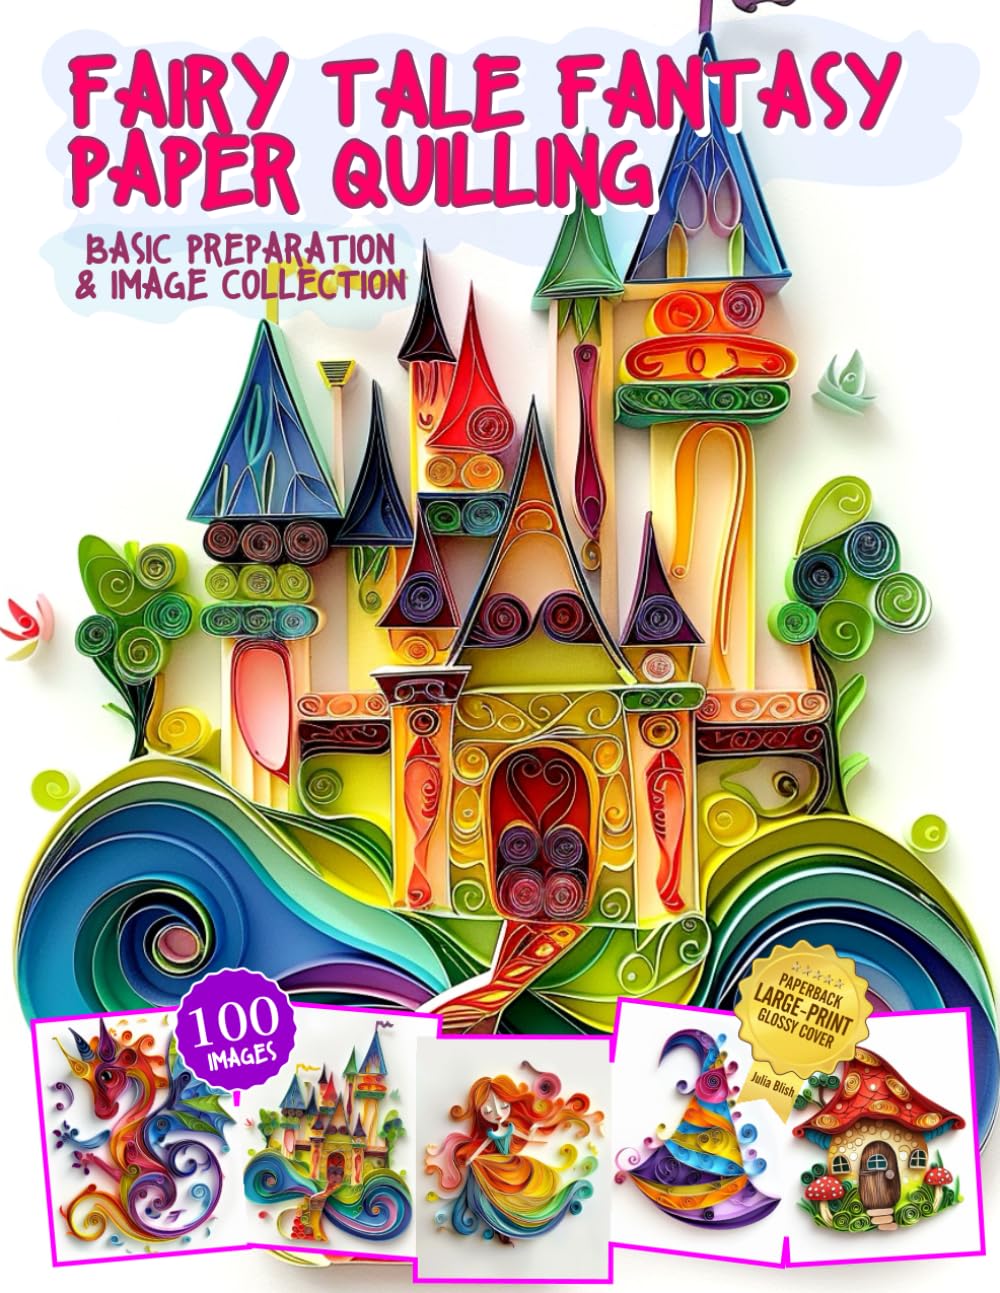
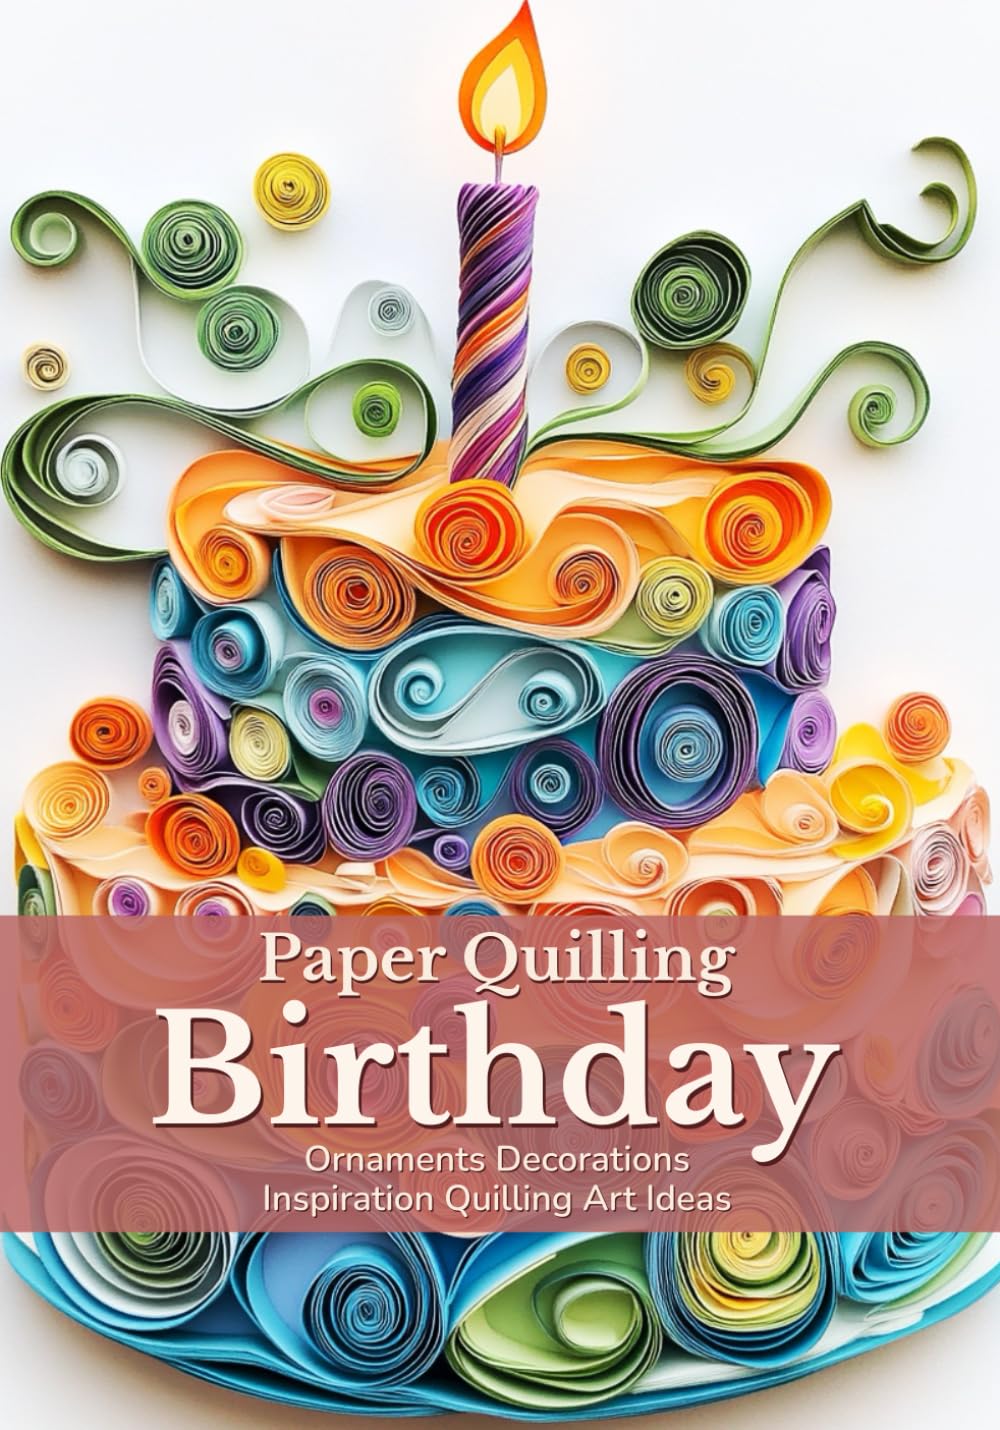
Paper quilling has been quietly winning over crafters for centuries, and in 2026 it's enjoying a fresh wave of popularity as people look for slow, mindful hobbies that don't require a screen. If you've ever admired those intricate coiled paper designs on greeting cards, wall art, or jewelry and wondered how they're made, you're in the right place. Quilling is more approachable than it looks, and with a few core tips, you'll be rolling, shaping, and gluing your way to beautiful designs in no time.
At its heart, paper quilling is the art of rolling thin strips of paper into coils, then pinching and shaping them into different forms — teardrops, marquises, hearts, scrolls — and arranging them into patterns. The materials are inexpensive, the learning curve is gentle, and the possibilities are nearly endless.
Getting Started: Tools That Actually Matter
You don't need a huge stash of supplies to begin. Focus on a few quality basics:
- A slotted quilling tool for beginners, or a needle tool once you're ready to level up (needle tools give cleaner, tighter centers).
- Precut quilling paper strips in varying widths — 1/8 inch is the most versatile size to start with.
- A good craft glue with a fine-tip applicator to avoid messy blobs.
- A corkboard or quilling board with circle guides to keep your coils consistent in size.
- Tweezers for placing tiny, delicate pieces without stressing your fingers.
Investing in these five items will set you up for success far more than buying a huge kit with extras you won't use right away.
Foundational Tips for Cleaner Quilling
Small habits make a big difference in how polished your finished pieces look:
- Always let your coils rest for a few seconds after rolling before gluing the end, so they relax to their natural size and don't spring loose later.
- Keep your paper strips slightly damp-free — humidity can make paper harder to roll evenly, so work in a dry space when possible.
- Practice consistent tension. Rolling too tightly or too loosely from piece to piece will make your finished designs look uneven.
- Use a ruler or circle sizer template to keep matching shapes uniform, especially for symmetrical designs like flowers or mandalas.
- Glue sparingly. A toothpick or fine applicator tip helps you place just a dot where it's needed, keeping edges crisp.
Project Ideas to Spark Your Creativity
Once you're comfortable with basic shapes, try branching into these fun project directions:
- Greeting cards: A quilled flower or butterfly makes a handmade card feel truly special, and it's a wonderful way to practice new shapes in small doses.
- Quilled jewelry: Earrings and pendants made from tightly coiled, sealed quilled shapes are lightweight, colorful, and surprisingly durable when finished with a protective glaze.
- Wall art and mandalas: Circular quilled mandalas are meditative to create and stunning to display — perfect for a slow weekend project.
- Seasonal decor: Snowflakes, pumpkins, and wreaths translate beautifully into quilled form and make thoughtful handmade gifts.
- 3D quilling: Once you've mastered flat designs, try shaping coils into freestanding forms like tiny baskets, vases, or animals for an extra creative challenge.
Keep the Momentum Going
Paper quilling rewards patience, so don't get discouraged if your first few coils feel wobbly. Set aside just fifteen minutes a day to practice basic shapes, and you'll notice steady improvement within a week or two. Joining an online quilling community or following along with a project book can also help you stay inspired, especially when you hit a creative plateau. The best part of this hobby is that even your "practice" pieces often turn into beautiful, usable art — so there's truly no wasted effort in picking up a strip of paper and giving it a roll.