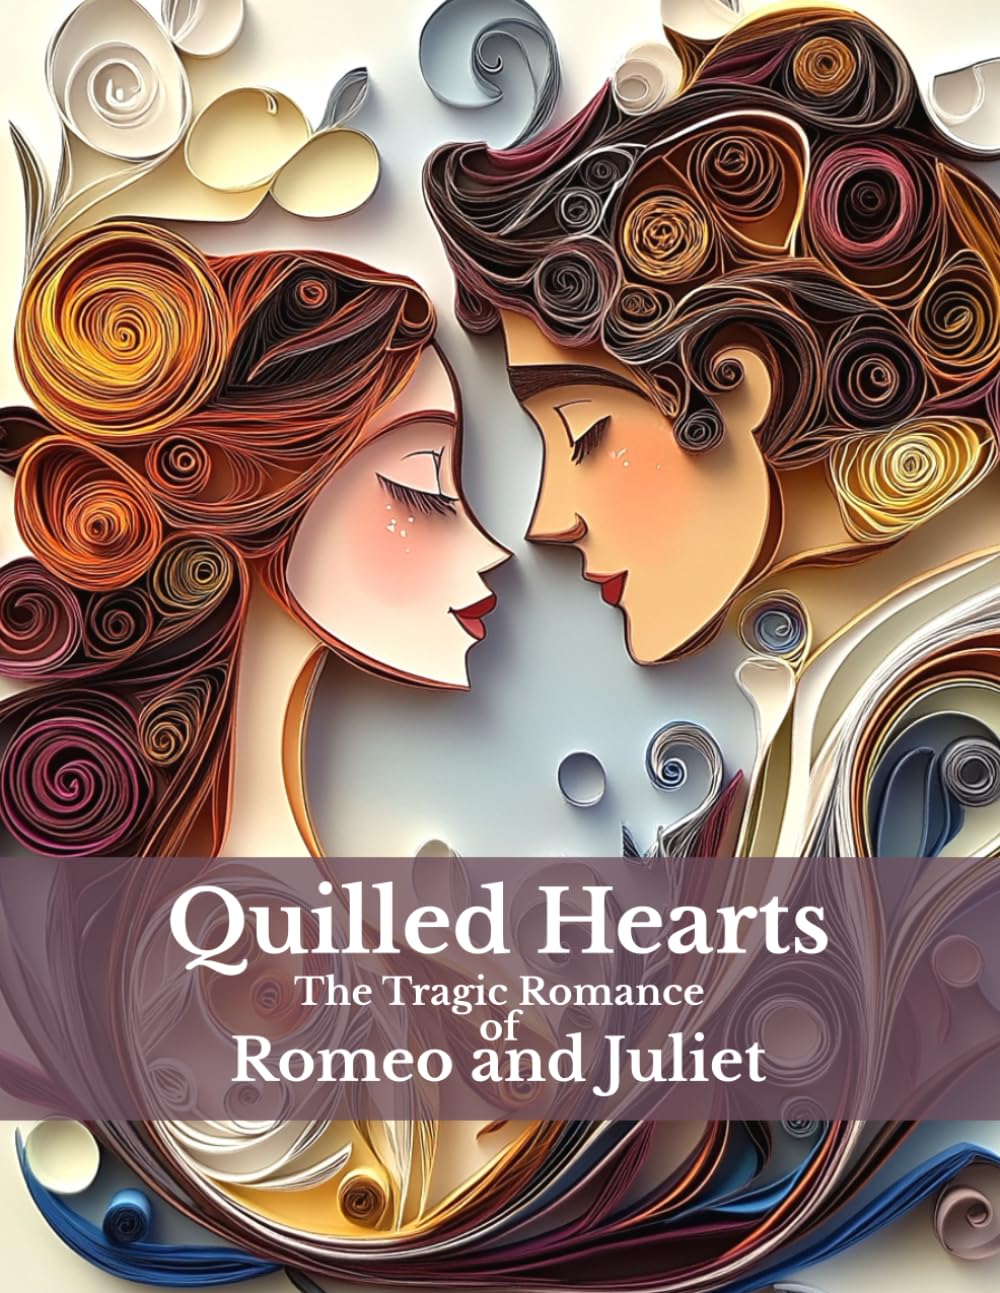
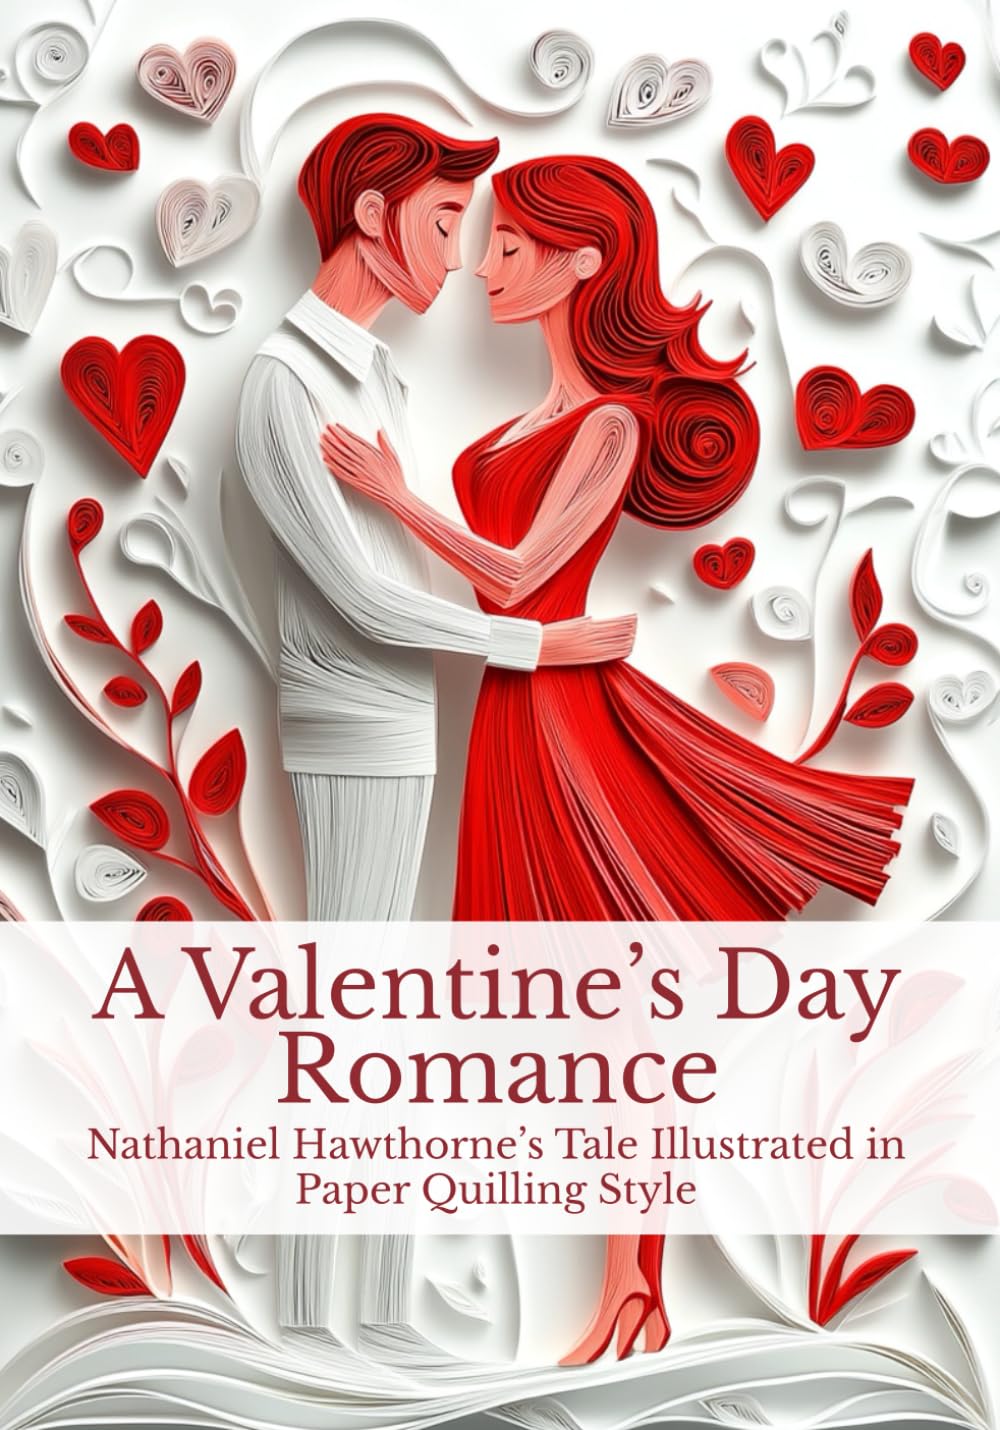
If you're looking for a hobby that's calming, affordable, and endlessly creative, paper quilling might be exactly what you need. This beautiful art form involves rolling, shaping, and gluing thin strips of paper into gorgeous designs. Whether you're brand new to quilling or looking to refine your skills in 2026, these tips and ideas will help you fall in love with the craft.
What You Need to Get Started
One of the best things about paper quilling is how little equipment you need. A basic starter kit includes:
- A slotted or needle quilling tool
- Quilling paper strips in various widths and colors
- A glue pen or fine-tip glue bottle
- A circle sizing board or ruler
- Tweezers for precision placement
- A corkboard or foam mat with pins
Many hobbyists start with a slotted tool because it's easier to learn on, though needle tools offer tighter, more professional-looking coils once you get the hang of them. Don't feel like you need the fanciest supplies right away—simple tools work beautifully as you build confidence.
Essential Techniques Every Quiller Should Know
Before diving into complex projects, master these foundational shapes and skills:
- Tight coils: The building block of many quilled flowers and centers.
- Loose coils: Great for adding texture and dimension.
- Teardrops and marquises: Perfect for petals and leaves.
- Husking technique: Wrapping paper around pins to create swirling, feathered shapes.
- Fringing: Cutting paper into thin strands for flowers that look wonderfully realistic.
Practice each shape slowly. Quilling rewards patience, and even five minutes of coiling can be a lovely way to unwind after a long day.
Tips for Cleaner, More Professional Results
Small adjustments can make a big difference in your finished pieces:
- Let glue dry slightly before pressing shapes together so they don't slip.
- Use a light touch when applying glue—too much can warp your paper.
- Work on a non-stick craft mat to keep your workspace tidy.
- Store finished coils in a shallow box so they hold their shape until you're ready to use them.
- Keep a damp cloth nearby to wipe your fingers and tools as you work.
Project Ideas to Spark Your Creativity
Once you're comfortable with the basics, try branching out into fun, giftable projects:
- Greeting cards: A quilled flower or heart adds a handmade touch to birthday or thank-you cards.
- Framed wall art: Create a quilled monogram, mandala, or nature scene for a unique home decor piece.
- Earrings and jewelry: Seal tiny quilled shapes with resin for lightweight, colorful accessories.
- Ornaments: Quilled snowflakes or wreaths make charming holiday decorations.
- Bookmarks: A simple quilled flower or butterfly glued to cardstock makes a sweet, practical gift.
These projects are perfect for beginners because they don't require large amounts of paper or advanced shaping—just a handful of coils and a little imagination.
Finding Inspiration and Staying Motivated
Quilling communities online are incredibly supportive, and sharing your work can help you stay motivated. Try following quillers on social media, joining local craft groups, or setting a simple goal like completing one small project each week. Keeping a sketchbook of color combinations and shape ideas can also help you plan future designs.
Remember that quilling is as much about the process as the finished product. The repetitive motion of rolling paper can be meditative, making it a wonderful stress-relief activity alongside its creative rewards.
Final Thoughts
Paper quilling is a hobby that grows with you—simple enough for a relaxing weekend project, yet detailed enough to challenge even experienced crafters. With just a few tools, some colorful paper strips, and a bit of patience, you can create everything from delicate flowers to intricate framed art. So grab your quilling tool, roll your first coil, and see where this delightful craft takes you in 2026 and beyond.