Papercraft is one of the most rewarding hobbies because it asks for so little to start and rewards you with so much creative freedom. Whether you're a beginner just picking up your first quilling tool or a seasoned crafter looking to refine your technique, there's always room to grow. Here are my favorite tips and ideas to help you make the most of every paper project in 2026.
Choose the Right Paper for the Job
Not all paper is created equal, and using the wrong weight can sabotage even the best design. For quilling, look for strips specifically labeled as quilling paper, usually between 90 and 120 gsm. This weight holds a coil shape without collapsing but is still flexible enough to curl tightly. For cardmaking and layered papercraft, cardstock in the 200 to 300 gsm range gives you sturdy bases that won't warp when glued or embossed.
- Test scraps before committing to a large project
- Store paper flat, away from humidity and direct sunlight
- Keep a variety of textures on hand: smooth, pearlescent, and textured cardstock all behave differently
Master Your Tools Before You Master Your Craft
A slotted quilling tool is beginner-friendly, but a needle tool gives you tighter, more professional-looking coils once you build confidence. Practice rolling consistent coils with scrap paper before moving to your final project. Consistency in coil size is what separates amateur-looking quilled art from polished, gallery-worthy pieces.
For general papercraft, invest in a good pair of micro-tip scissors, a bone folder for crisp creases, and a self-healing cutting mat. These three tools alone will elevate the precision of nearly any paper project you tackle.
Ideas to Spark Your Next Project
Sometimes the hardest part of papercraft isn't the technique, it's deciding what to make. Here are a few ideas to get your creativity flowing this season:
- Layered shadow boxes using quilled florals or geometric shapes for a 3D framed piece
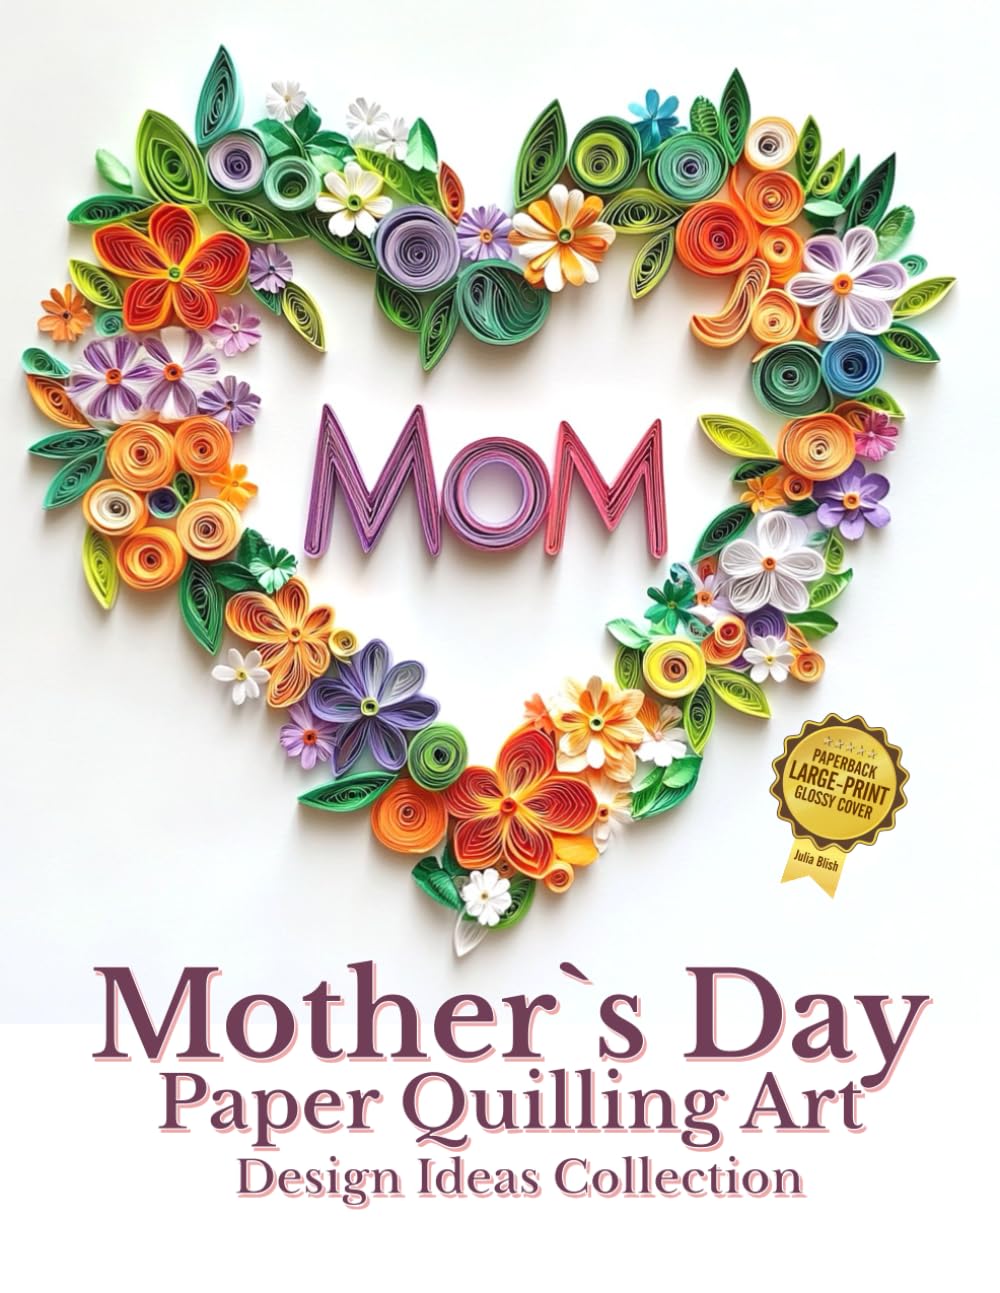
- Seasonal wreaths made entirely from rolled and shaped paper coils, perfect for gifting or home decor
- Personalized greeting cards that combine quilling accents with simple die-cut shapes
- Paper mosaics using torn or cut colored paper to fill in a printed outline, great for kids and beginners
- Miniature paper gardens using rolled leaves, petals, and stems arranged in a small planter or jar
Color and Composition Tips
Color choice can make or break a papercraft piece. Stick to a limited palette of three to five colors for a cohesive look, and use a color wheel to find complementary or analogous combinations. When arranging quilled elements or layered paper pieces, remember the rule of odd numbers: groupings of three or five tend to look more visually balanced than even numbers.
Negative space matters too. Don't feel obligated to fill every inch of your canvas or card. Letting some background show through gives your eye a place to rest and makes the detailed elements stand out even more.
Fix Common Mistakes Before They Happen
Glue mishaps are the most common frustration in papercraft. Always use a small amount of glue applied with a toothpick or fine-tip applicator rather than squeezing directly from the bottle. This prevents warping and keeps your work looking clean. If a coil loosens before you glue it, simply re-roll it tightly and hold it for a few extra seconds before releasing.
Another common issue is paper curling from humidity. Store finished pieces flat under a light weight for 24 hours after completion, and keep your workspace in a room with stable temperature and humidity when possible.
Keep Practicing and Have Fun
Papercraft rewards patience and repetition. The more coils you roll, the more folds you crease, the more intuitive the process becomes. Don't be afraid to experiment with unconventional materials like book pages, maps, or patterned scrapbook paper to give your projects a unique personality. Above all, remember that papercraft is meant to be enjoyable. Give yourself permission to make imperfect pieces as you learn, because every crumpled coil and misaligned fold is a step toward mastering this beautiful, tactile art form.